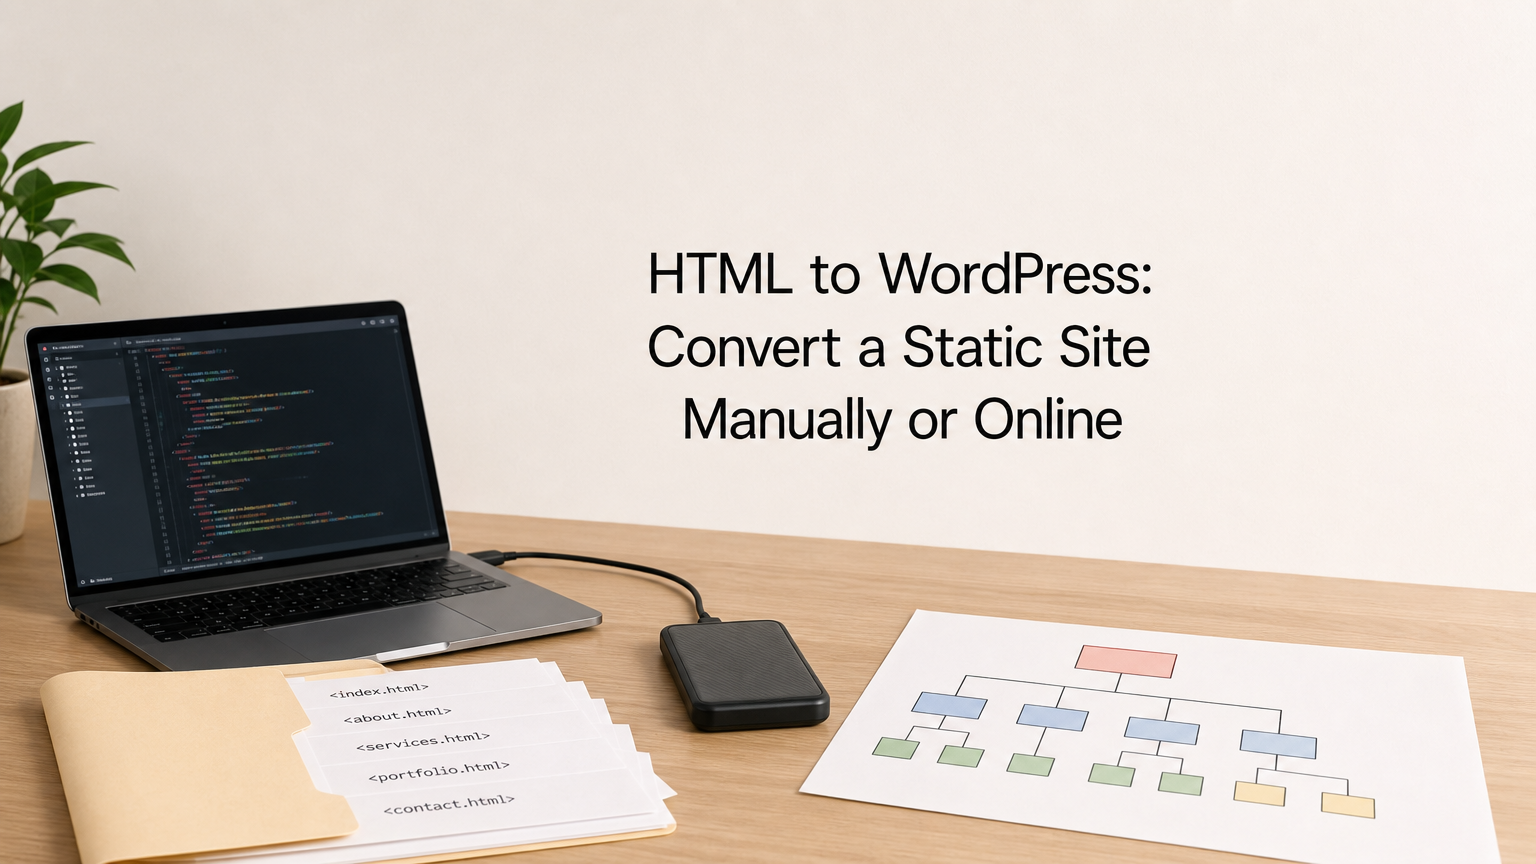
You have a static site built with HTML and CSS, and you want it running on WordPress. Maybe the client wants to edit pages without touching code. Maybe you are tired of updating the same footer on 40 files. Either way, html to wordpress conversion is a common job, and it is easier than it looks once you pick the right method.
Here is the short answer. You can convert manually by splitting your HTML into theme template files (header.php, footer.php, index.php) and loading your CSS through functions.php. Or you can use an online converter or plugin that automates part of the work. Manual conversion gives you clean code and full control. Converters are faster, but they often leave messy markup you will need to fix.
This guide walks through both paths step by step, so you can choose the one that fits your project. We also cover what to check after the move, and how a Divi layout can save you from rebuilding the design by hand. At Divihat, we build with Divi every day, so we focus on methods that hold up on real client sites.
Before you convert: what to prepare
Skipping prep is the most common reason an html to wordpress project drags on for weeks. An hour of groundwork saves you from broken image paths, lost forms, and a test site you cannot trust.
Take inventory of your static files
Start by opening the project folder and counting what is in it. Write down the number of HTML pages, CSS files, and JavaScript files, plus every image, font, and PDF. This count becomes your checklist when you verify the finished site.

Then flag the parts that WordPress will not handle on its own:
- Contact forms that post to a third-party service or a PHP script
- Scripts loaded from a CDN, such as sliders or analytics
- Repeated blocks like headers, footers, and sidebars
- Pages with unique layouts that need their own template
- Any existing URLs you plan to keep or change
Set up a safe place to work
Next, install WordPress somewhere that is not your live domain. A local install or a staging subdomain works well. Use a currently supported PHP version and turn on debugging in wp-config.php so errors show up while you build, not after launch.
Never convert on the live domain. Build on a staging copy, and switch over only when every page passes your checklist.
Keep your original HTML folder untouched in a separate location. You will copy files from it, not edit them in place. If something breaks, you can always start that step again from a clean source.
Pick your method before you start
Choose the path now, because each one changes how you handle the files in Step 1. The right pick depends on who will edit the site and how much time you have.
| Method | Best for | Code quality | Typical time |
|---|---|---|---|
| Manual theme build | Developers, small to mid-size sites | Clean, fully controlled | Several hours to days |
| Online converter or plugin | Quick prototypes, simple pages | Often messy, needs cleanup | Minutes to hours |
| Page builder rebuild | Client sites that need easy editing | Clean, editable visually | A few hours |
If you want to convert an HTML site to a WordPress theme and keep every line of markup, go manual. If the client will edit pages weekly, a page builder rebuild is usually the better call, even though it takes a little more design work up front. Converters sit in the middle. They are useful for a first draft, but plan on reviewing every output file.
Step 1. Back up your site and map its structure
Now that your staging site is ready, spend an hour on two jobs before you write any theme code. First, secure the original files. Second, decide where every static page will land in WordPress. Mapping first keeps the rest of your html to wordpress project from turning into guesswork.
Back up the original files
Copy the whole project folder to a second location, then zip the entire folder with a dated name. If the site is live, also pull the server files over SFTP, because the server copy can differ from your local one. Store one copy off your machine so a failed drive cannot take your only backup with it.
zip -r site-backup-2026-10-04.zip /path/to/html-site
Map pages to WordPress templates
Next, list every HTML file and decide its WordPress counterpart. Static pages become Pages, articles become Posts, and repeated blocks become template parts. A simple table keeps you honest:
| Static file | WordPress target | Notes |
|---|---|---|
| index.html | front-page.php | Home page template |
| about.html | Page (page.php) | Edited in the dashboard |
| blog/index.html | home.php | Post listing |
| blog/post-1.html | Post (single.php) | One template for all posts |
| 404.html | 404.php | Custom error page |
| header and footer markup | header.php, footer.php | Shared on every page |
Finally, write the old URL beside each new one. You will need that list for the redirects in Step 4, and fixing a slug after launch is much harder than choosing it now.
A page you did not map is a page you will forget to migrate.
Step 2. Build a custom theme from your HTML
With your map done, the manual html to wordpress build can start. A theme is a folder of PHP files, so most of your markup carries over as is.
Create the theme folder
Add a folder such as mysite inside wp-content/themes. Create style.css with a theme header and an empty index.php. WordPress needs both before it will list the theme in the dashboard.
/*
Theme Name: My Site
Version: 1.0
*/
Split the HTML into template files
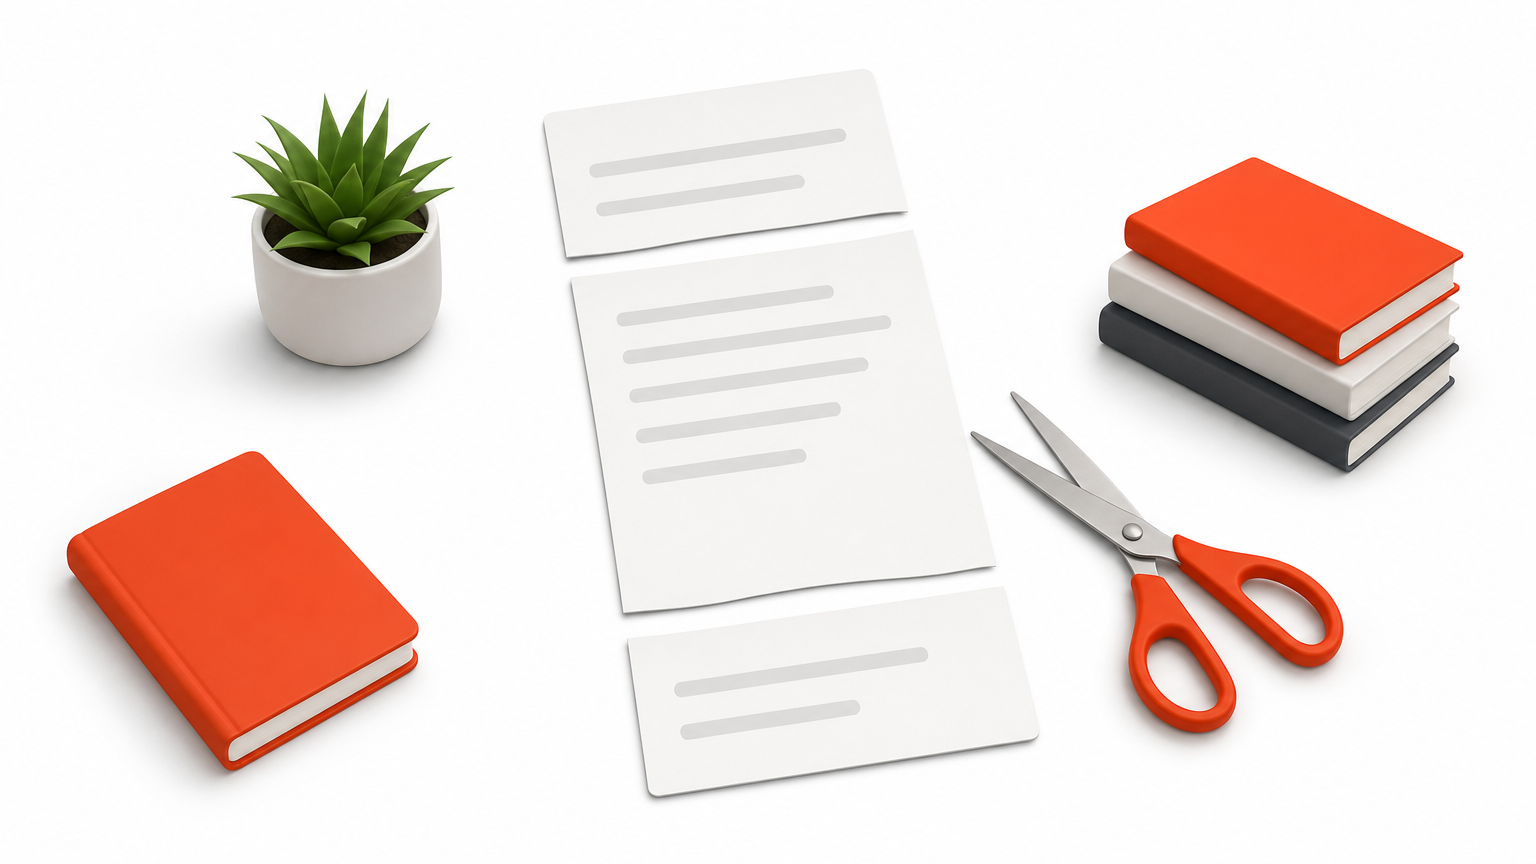
Cut everything from the doctype through your closing nav tag and paste it into header.php. Move the footer markup into footer.php. Each template then calls get_header() and get_footer() around its own content, as in front-page.php or page.php.
Also add wp_head() before and wp_footer() before