
To set a 404 page in Divi, go to Divi > Theme Builder, add a new template, assign it to "404 Page" under Special Pages, build the layout in the Visual Builder, and click Save Changes in Theme Builder. You do not need a plugin. The setup takes about 15 minutes, and most of that is design time.
The problem is that Divi’s default 404 response is a bare "No Results" message. It gives a lost visitor nothing to click. The most common complaint is that someone built a custom page and still sees the default one. That almost always traces back to one skipped step, usually the final save.
This guide covers what you need first, how to create the template, how to build or import the layout, and how to test it. It ends with a fix list for when the page refuses to show. It works in Divi 4 and Divi 5.
What you need before you set a Divi 404 page
A 404 page is what visitors see when they request a URL that does not exist on your site. Setting a custom one in Divi takes admin access, an active Divi theme, and a few minutes of planning.
Why a custom 404 page is worth the effort
Visitors reach a 404 after you delete a page, change a slug, or when someone mistypes a link. A custom 404 page keeps them on your site with a search box and a few useful links, instead of a dead end.
It does not repair broken links, though. It only catches the visitors who land on them, so you still fix the links you control.
A custom 404 page does not stop errors. It stops visitors from leaving because of them.
Prerequisites
Check these before you open Theme Builder:
- Admin access to your WordPress dashboard.
- Divi 4.0 or later, or Divi 5, installed and active. Theme Builder ships with the theme.
- A recent backup of your site.
- Four or five pages worth linking to, such as your homepage, services, blog, and contact page.
Skip the third-party 404 plugins for Divi. Theme Builder already does the job, and every extra plugin is one more thing to update and one more source of conflicts. If you have seen advice about creating a 404 page in HTML, that means writing a 404.php file in a theme. Divi users do not need it.
Step 1. Create the 404 template in Theme Builder
Create a new template in Theme Builder and tell it to apply to the 404 page. This step decides when your design appears.
Add the template and set Use On
- In the WordPress dashboard, go to Divi > Theme Builder.
- Click Add New Template.
- Open the Use On tab, scroll to Special Pages, and tick 404 Page.
- Click Create Template.
- On the new template, click Add Custom Body, then Build Custom Body.

The Visual Builder opens with an empty body. Build your design there in step 2. Button labels differ slightly between Divi 4 and Divi 5, but the path is the same.
The "Use On" setting is what makes this template a 404 page. Without it, nothing you design will ever appear.
Keep the header and footer
A new template inherits the global header and footer from your Default Website Template. Leave those areas alone. Navigation in the header is one of the best ways to help a lost visitor, so the 404 page should look like the rest of your site.
Step 2. Build or import the 404 layout
Fill the empty body with a short message, a search field, and links to your best pages. You can build it from scratch or import a ready-made layout.
Build it from scratch
Use one full-width section with a centered row, and add these modules in order:
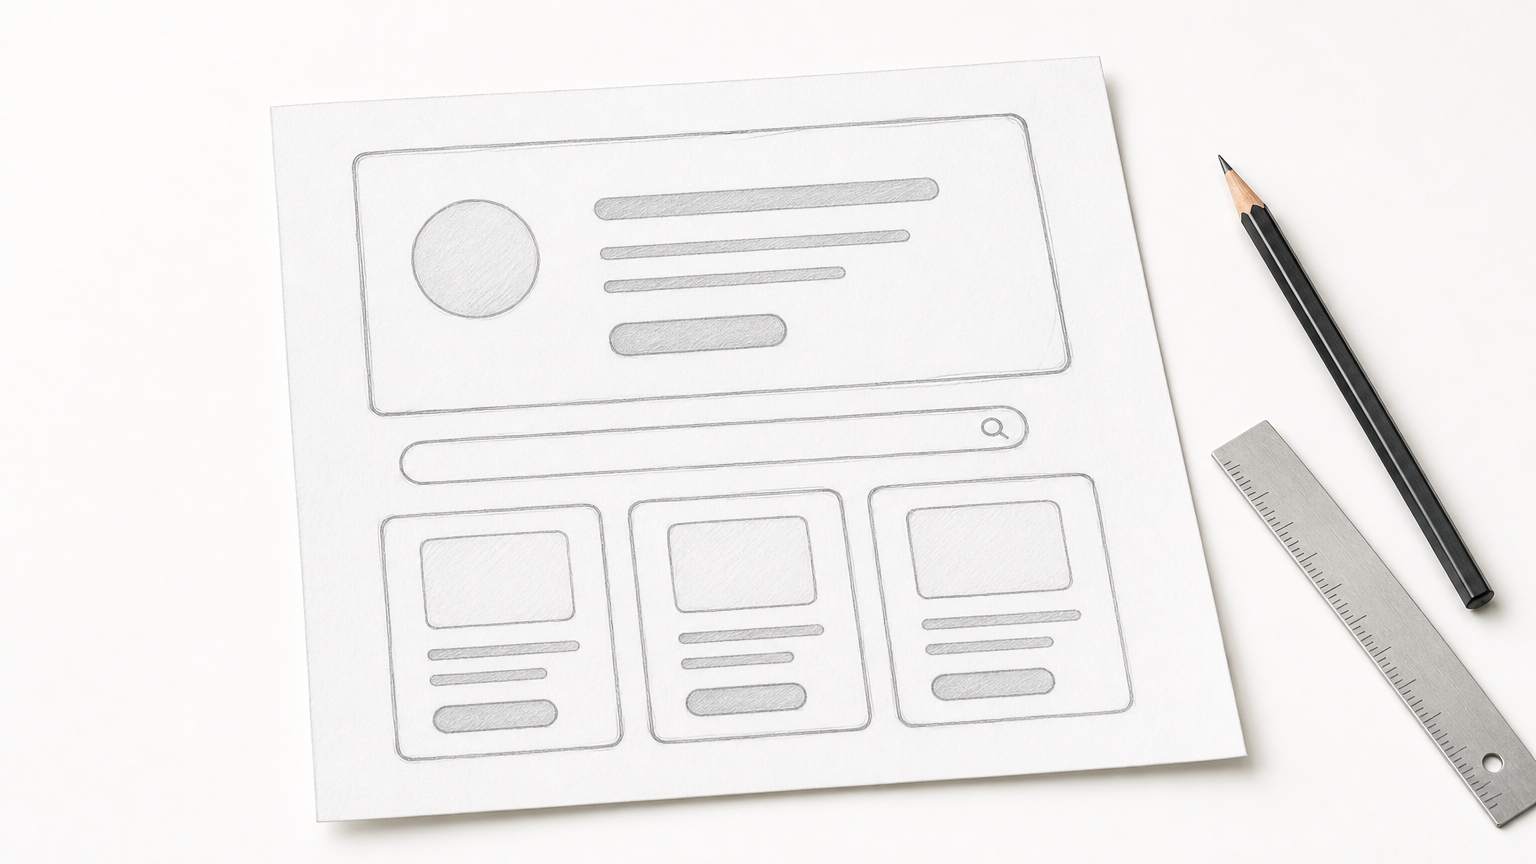
- A Text module with a clear headline and one helpful sentence.
- A Search module, so visitors can find what they wanted.
- Two to four Button modules linking to your key pages.
- Optionally, a Blog module showing three recent posts.
Here is copy you can paste in and adapt:
Headline: We can't find that page
Text: The link may be broken, or the page may have moved. Try a search below, or head to one of these popular pages.
Button 1: Go to the homepage
Button 2: Browse the blog
Button 3: Contact us
Keep the page light. One clear next step beats a wall of options.
Import a ready-made layout
If you would rather not design from scratch, import one. Divi Hat gives away 404 layouts as email opt-in freebies, and the Divi 5 hero sections in its library can serve as the top of a 404 page.
Where you import depends on the file type. A Theme Builder export goes in through the portability icon at the top right of Theme Builder. A single layout goes in through Divi > Divi Library > Import & Export, or through "Add From Library" inside the builder. After importing, replace the logo, colors, and link targets so nothing points to someone else’s site.
Whether you build or import, a 404 page needs only three things: a clear message, a search box, and a few useful links.
Step 3. Save the template and test it
Save everything, then trigger a real 404 and check the status code. Do not trust the preview alone.
Save and trigger a real 404
Exit the Visual Builder, then click Save Changes at the top right of Theme Builder. This is the step people skip. Saving inside the builder is not enough.
Next, open a private browser window and visit a URL that cannot exist, such as yourdomain.com/this-page-does-not-exist. You should see your new design. If you still see "No Results," purge your caching plugin and host cache, then try again.
Saving inside the builder is not saving the template. Click Save Changes in Theme Builder.
Check that it returns a 404 status
Your page must look like an error page to browsers and search engines too. Open your browser’s developer tools, go to the Network tab, and reload the test URL. The first request should show status 404, not 200. Divi’s template does this by default.
A page that says "not found" but returns 200 is what Google calls a soft 404. It can confuse crawling, so never build the 404 as a normal page and redirect to it.
Fix a Divi 404 page that does not display
When the custom page does not show, the cause is nearly always one of six things. Work down this table from the top.
The common causes
| Symptom | Likely cause | Fix |
|---|---|---|
| Default "No Results" still shows | Template changes not saved | Click Save Changes in Theme Builder |
| Template exists but is ignored | Template toggled off, or Use On is wrong | Re-enable it and confirm "404 Page" is ticked |
| Old version keeps appearing | Caching plugin, host cache, or CDN | Purge all caches, test in a private window |
| Layout looks unstyled | Stale Divi static CSS | Clear Divi’s static CSS and re-save |
| Visitors land on the homepage | A plugin redirects all 404s home | Turn off the catch-all redirect |
| Missing images or CSS show a plain error | The server answers before WordPress loads | Normal behavior, fix the file paths |
Redirect or keep the 404?
Redirect only pages that moved. If you renamed a page, add a 301 redirect from the old URL to the closest matching new page. Leave every other dead URL as a real 404 that shows your template.
Sending all errors to the homepage looks tidy, but Google may treat it as a soft 404. It also hides your broken links from you.
Redirect what moved, and let everything else land on a proper 404 page.
Your 404 page is ready to catch lost visitors
Setting a 404 page in Divi comes down to four moves. Create a template in Theme Builder, assign it to 404 Page, design a short and helpful layout, and save it in Theme Builder. Then test it with a private window and a status code check. Fix real broken links separately, and redirect only pages that actually moved.
If you want a head start on the design, the Divi Hat membership gives you Divi 5 layouts, hero sections, and child themes for unlimited sites. Pick one, import it, and your 404 page can be live in minutes.