The best Divi article layouts come from five routes: premium design blocks, a post template you build in Theme Builder, a free layout pack, a Blog module archive, or a designer who installs it for you. A good pick gives you a readable text column, a header that pulls in each post’s title and featured image automatically, and one template that styles every article. Beginners on a budget should build their own template. Freelancers and agencies get more from premium blocks. Busy owners should hand the job off.
Divi ships with plenty of page layouts, but article-style post layouts are harder to find. Search for them and you mostly land on blog grids, which style the list of posts, not the post itself. That gap is why so many Divi blogs end up with a default post page that looks nothing like the rest of the site.
Divi Hat has built websites with the Divi Theme for 10 years. Each one covers what it is, how to set it up, who it suits, and what it costs, so you can choose without reading five more articles.
1. Divi Hat hero sections and CTA layouts
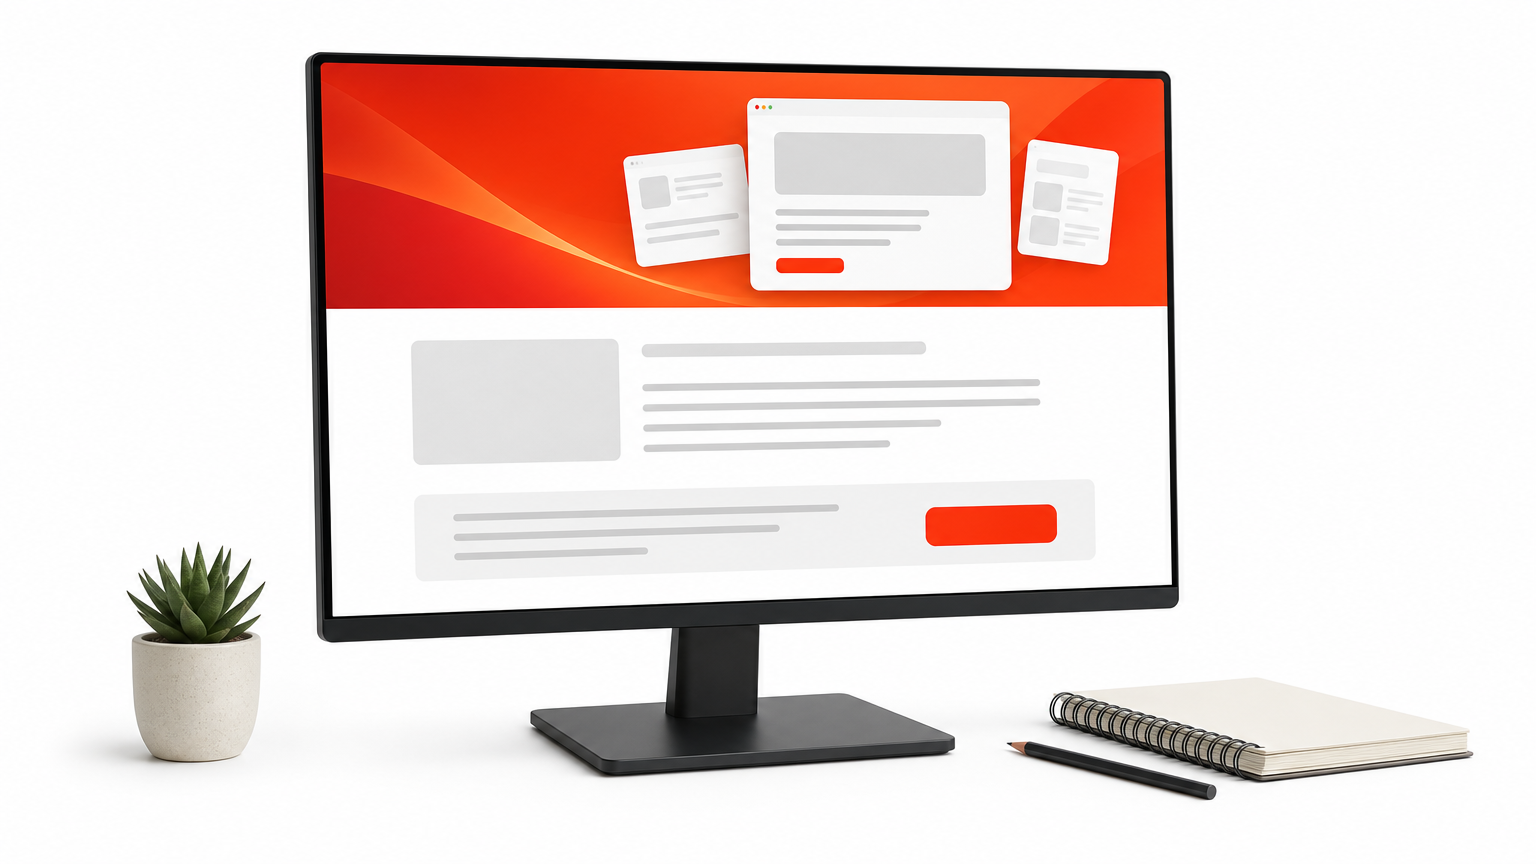
Divi Hat gives you the premium parts of an article page: a Divi 5 hero section for the post header and CTA layouts for the end of every post. You assemble them once inside a post template, and every article inherits the design.
What it is
The library includes 75+ hero sections built for Divi 5 and 58 CTA layouts, plus accordion layouts for FAQ blocks. You pick the pieces that match your brand instead of accepting one fixed post design. Typical uses on an article page:
- Hero section: the title area, with the featured image behind the heading
- CTA layout: a banner or boxed block after the last paragraph
- Accordion: an FAQ block under the article
How to set it up
Start from a post template in Theme Builder, then add the pieces in order. Keep the dynamic content connected so each post fills the layout itself.
- Import the hero section and place it at the top of the template body.
- Swap its heading for the dynamic Post Title and its background for the featured image.
- Add the Post Content module below the hero.
- Place a CTA layout under the content and save.
Who it suits and what it costs
Freelancers and agencies get the most from this route. Every Divi Hat product allows unlimited website usage, client sites included, and the images are royalty-free. Hero sections cost $19.99 and CTA layouts cost $39.99.
Buying both comes to $59.98. The Standard Yearly Membership at $79.95 covers every product, including layouts, wireframes, and child themes. The Agency Lifetime Membership costs $297.95. A 30-day money-back guarantee backs the purchase.
A strong article layout is a header, a readable text column, and a closing call to action, built once and reused.
2. A custom post template in Theme Builder
A custom post template is the most flexible option, and it adds no cost beyond Divi itself. One single post template controls every article on your site.
What it is
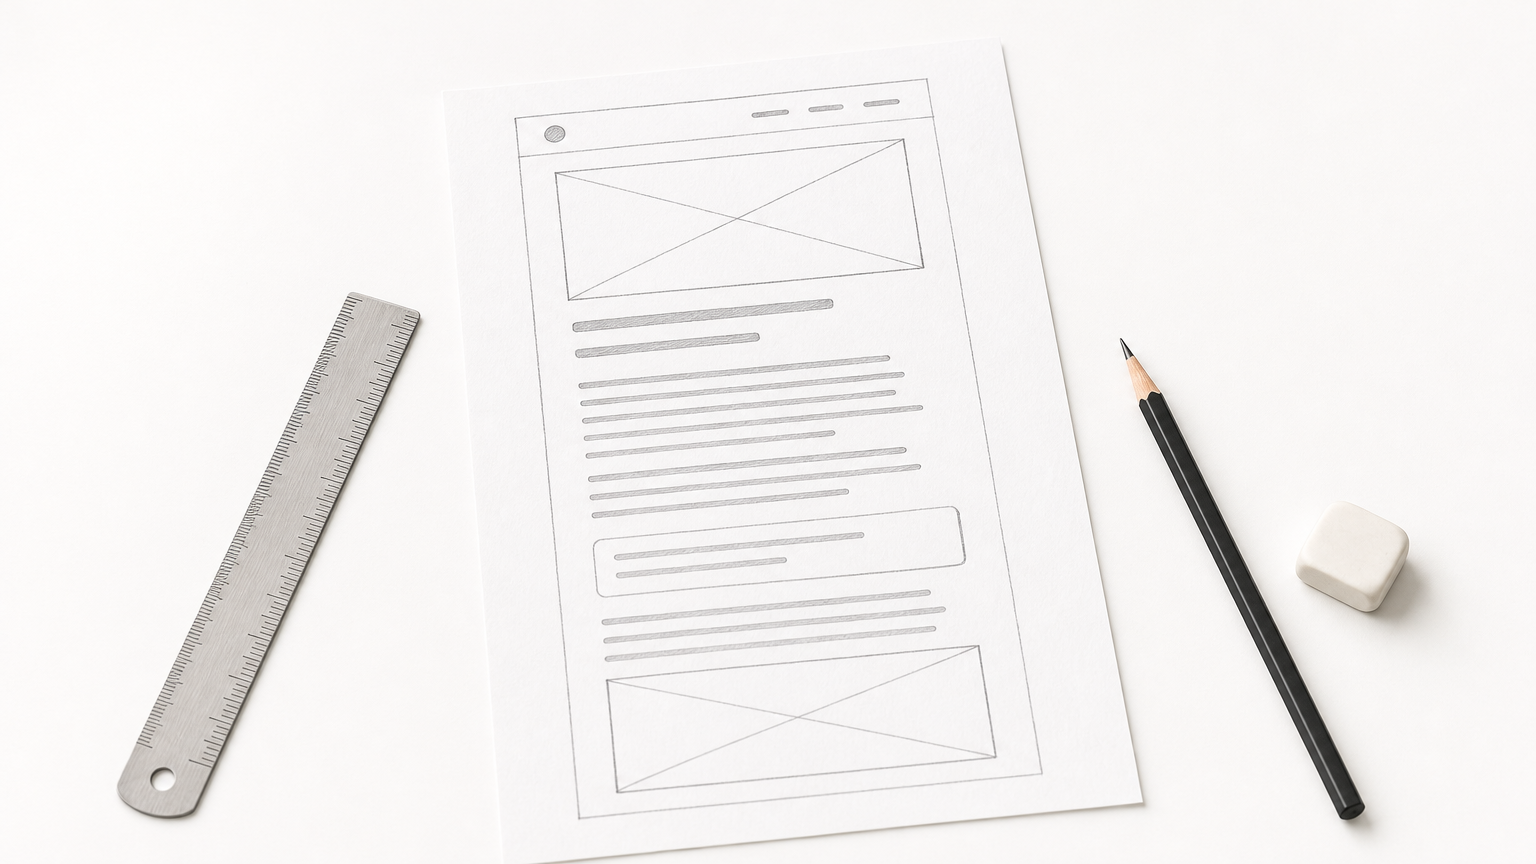
Theme Builder lets you replace the theme’s default post page with your own design. These modules give you a dependable structure, and they work in Divi 5 as well:
- Post Title with the featured image at the top
- Post Content in a column about 700 to 760 pixels wide, which keeps lines readable
- Post Navigation and Comments below the text
- A Blog module filtered to the current category for related posts
How to set it up
Open the builder from your WordPress dashboard. The whole job takes four steps, and you can reuse the template on other sites by exporting it.
- Go to Divi > Theme Builder and click Add New Template.
- Assign it to All Posts, or to one category.
- Click Add Custom Body and build the layout with the modules above.
- Save your changes and open a post to check it.
Who it suits and what it costs
Anyone comfortable with Divi’s builder can do this. Plan on an afternoon for a first template, and much less once you reuse it. It costs nothing beyond your Divi license.
Premium blocks from option 1 drop straight into this template and cut build time. This route suits owners who want full control and a design that no other site shares.
One Theme Builder template beats editing fifty posts by hand.
3. Free Divi layout packs for posts
Free layout packs are the fastest zero-cost route, but quality varies a lot. Look for a pack that includes a single post template, not just a blog grid, and confirm it works with Divi 5.
What it is
Most packs arrive as a JSON file that imports through Divi’s portability tool. Some come from Divi’s own library and others from independent creators. A free pack usually covers one style only, so you take it as is or adjust it.
Check these points before you import:
- It includes a post template, not only an index page
- It was built or tested for Divi 5
- The license allows client use
- Its fonts and images are cleared for commercial use
How to set it up
Test on a staging site first, because a pack built for an older Divi version may need fixes after import. Then import the file through Theme Builder.
- Back up your site or work on staging.
- In Divi > Theme Builder, click the portability icon, open the Import tab, and choose the file.
- Assign the imported template to All Posts.
- Replace placeholder images and fonts, and check that dynamic content fills in.
Who it suits and what it costs
Free packs suit hobby blogs, quick tests, and anyone learning how post templates are put together. The price is $0, but expect to spend time on spacing, fonts, and mobile checks.
The trade-off is sameness. A popular free pack can show up on many other sites, and a license that bars client work rules it out for agencies.
Free layouts save design time, but you pay for it in testing time.
4. Blog module layouts for your post index
The Blog module styles the list of posts, not the post itself, yet it is the other half of any article design. Pair it with a post template so readers see one consistent style from the index to the article.
What it is
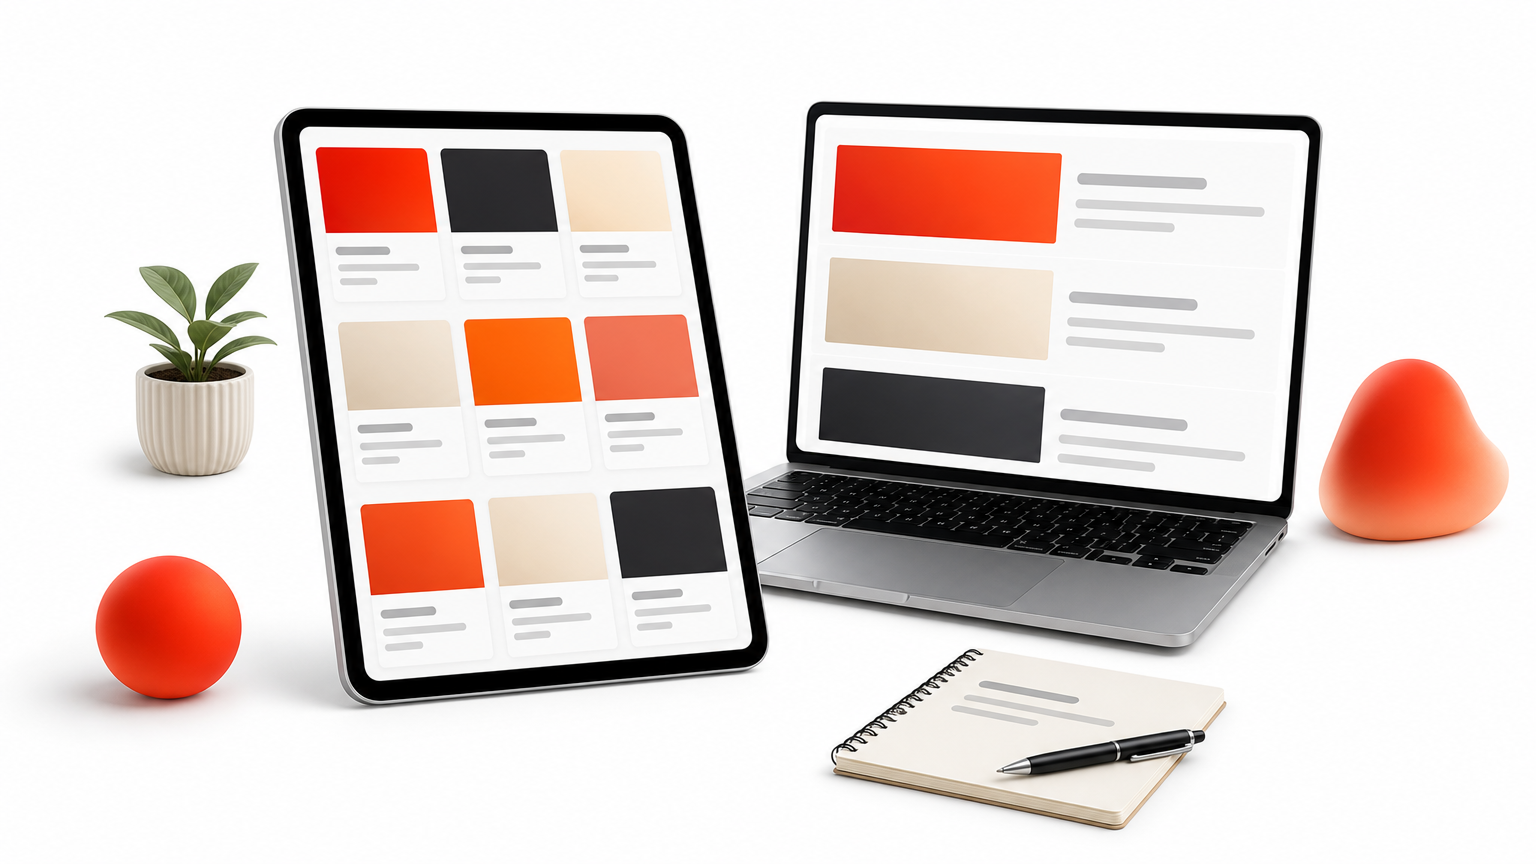
You place the Blog module in an archive template and choose how posts are listed. Three layouts cover most sites:
| Layout | What it does | Best for |
|---|---|---|
| Full width | One post per row with image and excerpt | Text-first, long-form blogs |
| Grid | Cards side by side | Sites with strong featured images |
| Related posts | Blog module filtered to the current category | The bottom of a post template |
How to set it up
The setup lives in Theme Builder, like the post template. Choose the archive template and keep pagination on so older posts stay reachable.
- Add a new template and assign it to All Archive Pages.
- Click Add Custom Body and insert the Blog module.
- Choose Fullwidth or Grid and set the posts per page.
- Style the featured image, title, and meta text to match your post template.
Who it suits and what it costs
This option suits sites with 20 or more posts that need a cleaner index. It costs nothing beyond Divi, and the work takes less time than a full post template.
Remember its limit. A styled index does not change the article page, so treat it as a companion to options 1 to 3, not a replacement.
Style the index and the post together, or readers will notice the mismatch.
5. A Divi designer to install it for you
If you would rather not build, a Divi designer can do it. Divi Hat’s Divi Layout Installation service has Divi web designers install and customize layouts, using the Divi license and WordPress or hosting credentials that you supply.
What it is
You choose the layouts, and a designer installs them and adjusts them to your brand. This works well when you want a finished article page without learning Theme Builder. Prepare these items first:
- Your Divi license
- A WordPress or hosting login
- Brand colors, fonts, and logo
- Two or three sample posts to test on
How to set it up
Most of the work is the brief. A clear brief prevents rounds of revisions, and safe access protects your site.
- Pick the hero, CTA, and post layouts you want.
- Create a temporary admin user instead of sharing your main login.
- Send the credentials securely along with your brand details.
- Review the result, request changes, and delete the temporary user when you finish.
Who it suits and what it costs
Busy business owners and agencies with a deadline benefit most. You trade money for time and get a template that matches your brand from the start.
Confirm the price for your scope before you order. Compare that quote with doing options 1 and 2 yourself.
Handing off a template build costs least when you send a clear brief.
Choose the route that matches your time
Each of these options gets you a post design that applies to every article. Build it yourself in Theme Builder if you have an afternoon and want control. Use a free pack for a quick test. Style your Blog module so the index matches. Pay for premium blocks or a designer when speed and polish matter more than the cost.
For most freelancers and agencies, the best mix is a Theme Builder post template with premium hero and CTA blocks on top. If you want that library without buying pieces one at a time, the Divi Hat membership gives you access to every layout, hero section, and child theme.